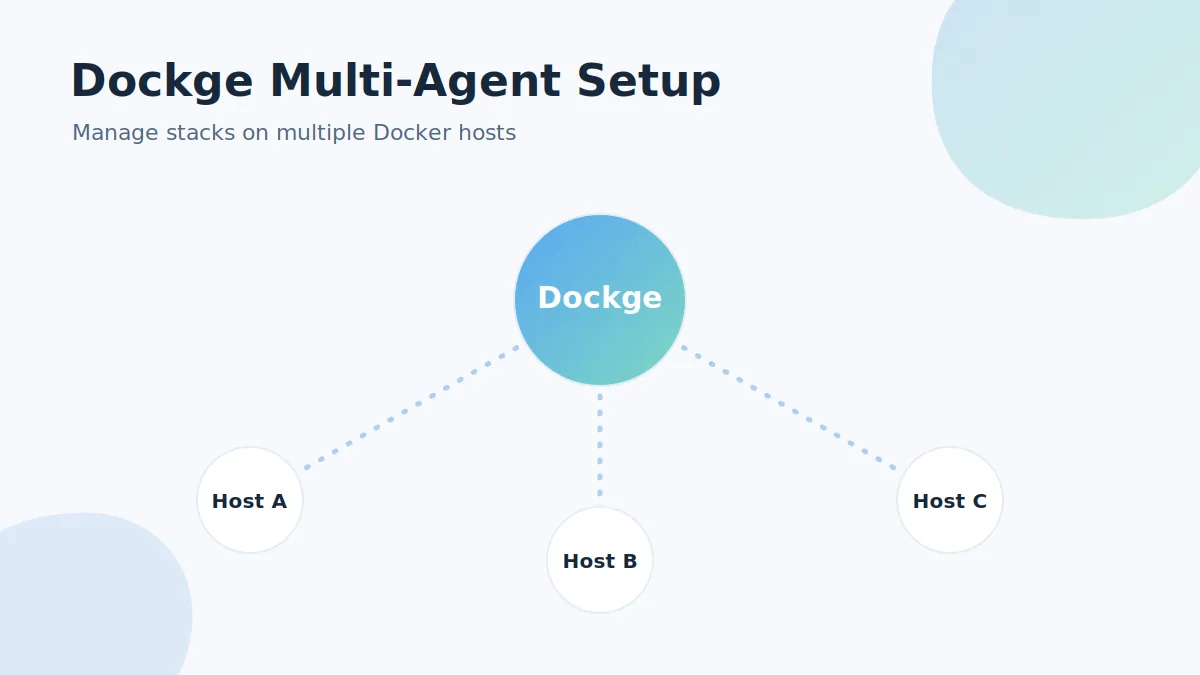
Since version 1.4.0, Dockge can manage more than one machine. The multi-agent feature connects a main Dockge instance to Dockge installations on other Docker hosts, so every stack in your network is reachable from a single dashboard.
How Dockge agents work
An "agent" is simply another Dockge instance running on another host. The main instance connects to it and mirrors its stacks into your sidebar, grouped per host. Actions you trigger — deploy, stop, update — run on the remote machine, with the same real-time output you get locally.
Setting up an agent
- Install Dockge on the second host using the normal install steps. Create its admin account.
- Open your main Dockge instance and go to the agents area of the interface.
- Add the agent by entering the remote URL (e.g.
http://192.168.1.20:5001) and the remote username and password. - Save — the remote host's stacks appear in the sidebar under its own group.
Working across hosts
- The host selector shows which machine each stack belongs to, so a stop on host B never touches host A.
- Stacks still live as plain files on their own machines — the file-based philosophy doesn't change.
- Each agent keeps working standalone; if the main instance is down, you can log into any host directly.
Security best practices for agents
- Connect agents over a private network or VPN (WireGuard, Tailscale), never over the open internet.
- Use unique, strong passwords per host — the login guide covers resets.
- Keep every instance on the same recent version; the update routine is two commands per host.
When multi-agent is the right choice
A NAS plus a VPS plus a Raspberry Pi is a classic homelab spread. Instead of three browser tabs and three logins a day, one Dockge dashboard covers all of it — while staying far lighter than a full orchestrator.