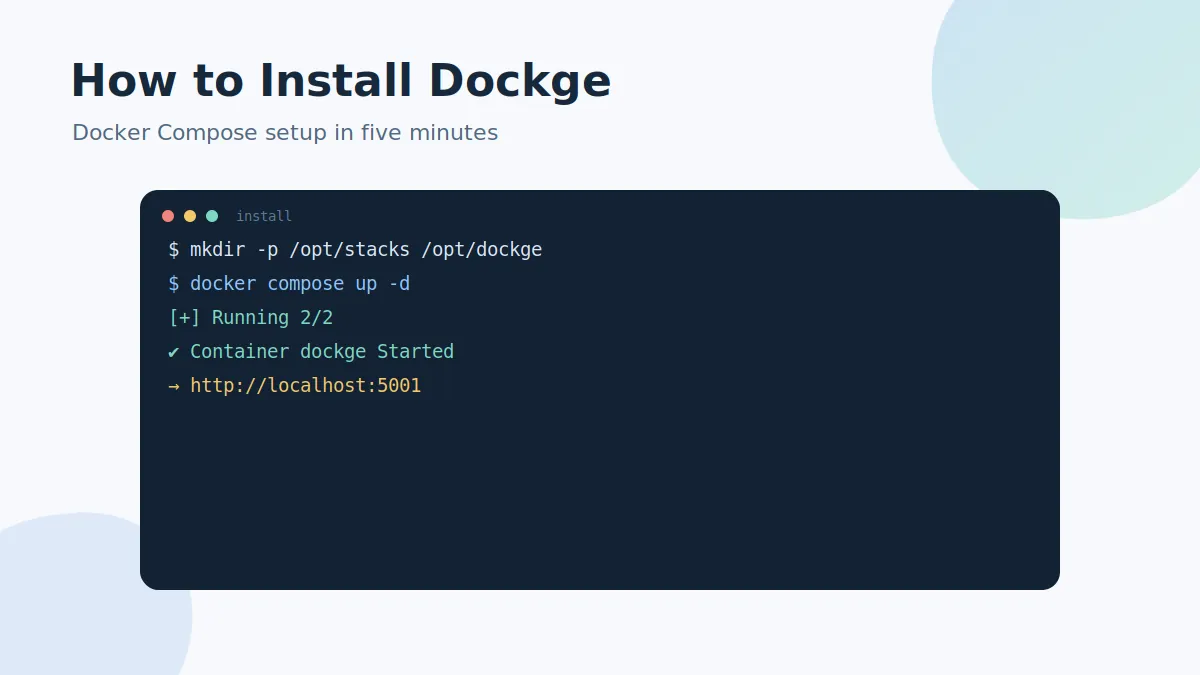
Dockge install takes about five minutes on any Linux server that already runs Docker. Because Dockge itself ships as a container, the whole installation is a single compose.yaml file and one command. This guide walks through every step, explains what each command does and shows how to customise the port and stack directory before the first start.
Requirements before you install Dockge
Make sure your system meets the official requirements:
- Docker 20+ or Podman (with
podman-dockeron Debian-based systems) - A supported Linux distribution: Ubuntu, Debian or Raspbian (Bullseye or newer), CentOS, Fedora or Arch Linux
- An amd64, arm64 or armv7 processor — a Raspberry Pi 3 or newer works fine
Native Windows is not supported yet. If you are on Windows, run Docker inside WSL2 and follow the same steps there.
Step 1 — Create the directories
Dockge uses two folders by convention: /opt/stacks for the compose stacks you will manage, and /opt/dockge for Dockge's own compose file.
mkdir -p /opt/stacks /opt/dockge
cd /opt/dockge
Step 2 — Download the official compose.yaml
curl https://dockge.kuma.pet/compose.yaml --output compose.yamlThis small file defines the Dockge service: the official image, the port mapping 5001:5001, the Docker socket mount and the stacks volume. You can open it in any editor before starting.
Step 3 — Start the Dockge server
docker compose up -dDocker pulls the image and starts the container in the background. When the command finishes, Dockge is running.
Step 4 — Open the interface and create your login
Visit http://your-server-ip:5001 in a browser. On first launch Dockge asks you to create the admin username and password — there is no default login. After that you land on the dashboard, ready to deploy your first stack. If you're unsure about accounts, read our Dockge login guide.
Optional: change the port or stacks directory
Different port
Edit compose.yaml and change the left side of the mapping, for example 7001:5001, then run docker compose up -d again. More detail in the Dockge port guide.
Different stacks directory
Change both sides of the stacks volume to the same path, e.g. /srv/stacks:/srv/stacks, and update the DOCKGE_STACKS_DIR environment variable to match. Keeping the path identical inside and outside the container is required.
Verify the installation
docker ps --filter "name=dockge"You should see the container in the Up state. From here, add existing stack folders to /opt/stacks or click + Compose in the interface to create a new one. When a new version ships, the update guide shows the two-command upgrade.