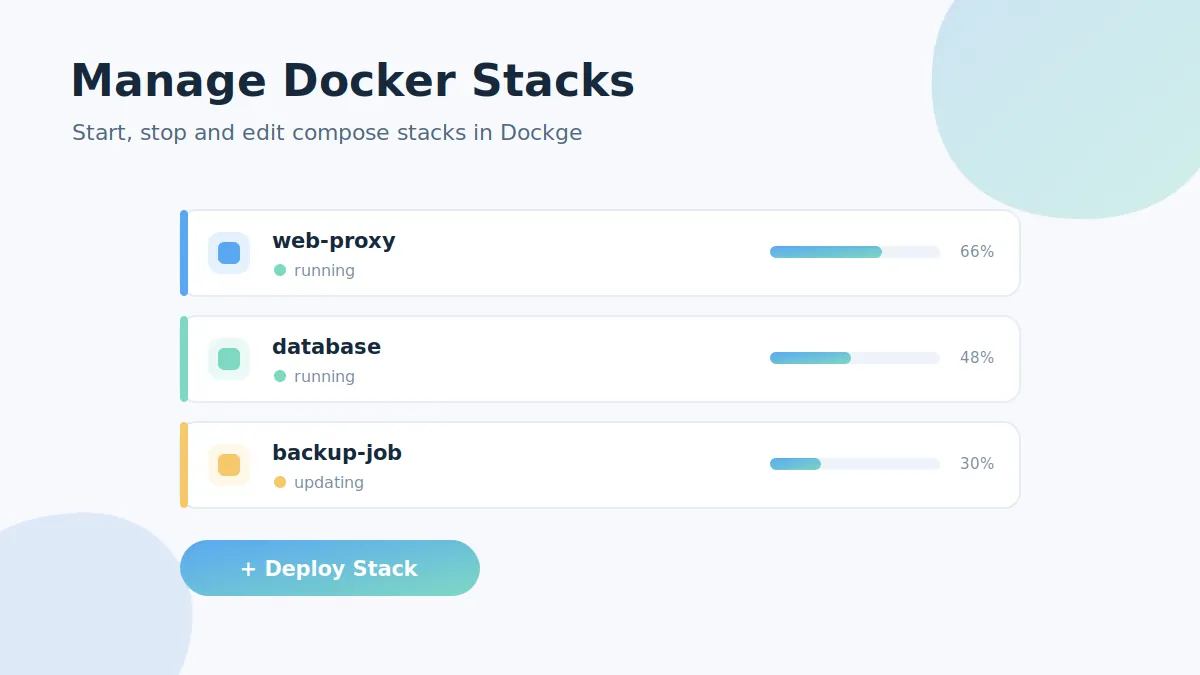
Once Dockge is installed, everyday Docker work turns into a few clicks. This tutorial walks through the full stack lifecycle in Dockge: creating, editing, controlling, updating and importing compose stacks — while everything stays a normal file on disk.
Creating your first stack
- Click + Compose in the sidebar.
- Give the stack a name, e.g.
uptime-kuma. Dockge creates/opt/stacks/uptime-kuma/. - Write or paste the service definition in the interactive editor:
services:
  uptime-kuma:
    image: louislam/uptime-kuma:1
    restart: unless-stopped
    ports:
      - 3001:3001
    volumes:
- ./data:/app/data- Press Deploy. The pull and start progress streams live into the page.
Controlling a stack
Open any stack to get the control row: Start, Stop, Restart, Update and Delete, plus per-service logs. The Update action pulls newer images for the stack and recreates its containers.
Editing compose.yaml safely
The editor validates YAML as you type. Because the file on disk is the single source of truth, any change you make in a terminal appears in Dockge too. That means you can keep using docker compose commands over SSH whenever it's faster — nothing gets out of sync.
Importing existing stacks
Move each project folder that contains a compose.yaml into /opt/stacks:
mv ~/projects/nextcloud /opt/stacks/The stack appears in the sidebar automatically. If it doesn't, check the troubleshooting guide — the usual cause is a mismatched stacks path.
Handy extras while you work
- Web terminal — run one-off commands in a container without leaving the browser.
- docker run converter — turn any README's
docker runsnippet into compose with the converter. - Agents — control stacks on other machines too, covered in the multi-agent guide.